
Ah, the throne in your home – the toilet. A place of solitude and relief until it starts misbehaving. Ever had that nerve-racking experience of a toilet that just won’t stop running? Don’t fret; you’re not alone. In this step-by-step guide, we’ll unravel the mysteries of a mischievous running toilet and arm you with the knowledge to fix it yourself.
The Importance of a Well-Behaving Toilet
Before we plunge into the nitty-gritty of toilet troubleshooting, let’s take a moment to appreciate the significance of a toilet that functions seamlessly. Picture this: you’re in Brooklyn, New York, getting ready for a busy day. The last thing you need is a toilet that thinks it’s auditioning for a marathon!
A running toilet not only disrupts your peace but can wreak havoc on your water bill too. Drip, drip, drip – that’s money going down the drain! So, let’s roll up our sleeves and tackle this issue head-on.
Why’s My Toilet Running?
Now, before we get our hands dirty with the repair details, let’s address the burning question: Why does a toilet decide to run its own race when we least expect it? Well, it’s not an act of rebellion; it’s typically a malfunction within the tank. The culprits often include a misbehaving flapper, a finicky fill valve, an uppity overflow tube, or a rebellious flush handle.
A Sneak Peek into Our Guide
So, what’s the game plan? We’re going to break down the repair process into bite-sized chunks. From deciphering the type of toilet you’re dealing with to fixing the flapper, adjusting the fill valve, and taming the overflow tube – we’ve got you covered. No need to call in the cavalry; you’ll be the hero in your own Brooklyn bathroom.
Ready to silence that running toilet and reclaim your peace? Let’s dive into the whirlpool of toilet troubleshooting!
Preliminary Steps
Before we plunge into the toilet-fixing adventure, let’s ensure we’re equipped and ready to roll. Safety first!
Safety Precautions
| No. | Steps |
| 1. | Turn off the water supply. |
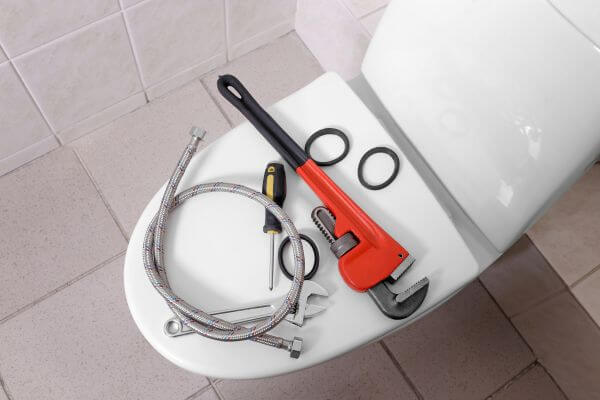
| 2. | Gather your tools and materials. |
It’s like gearing up for battle – water warrior style. With the water supply cut and tools in hand, you’re set to tackle the unruly toilet.
Identify Your Toilet Type
To navigate the repair journey effectively, identify your toilet type. Is it a gravity-flush, pressure-assist, or dual-flush toilet? Each has its quirks, and understanding your toilet’s personality is the key to a successful fix.
| Toilet Type | Characteristics |
| Gravity-Flush | Traditional, relies on gravity for flushing. |
| Pressure-Assist | Uses compressed air to enhance flushing. |
| Dual-Flush | Offers two flush options for water savings. |
Knowing your toilet’s DNA ensures you approach the troubleshooting with precision.
Now that we’ve laid the groundwork, let’s get our hands dirty and diagnose the mischief behind that incessant toilet run.
Diagnosis
A running toilet is like a mystery novel – full of twists and turns. Let’s play detective and uncover the culprit behind the runaway water race.
Identify the Cause
- Flapper Problems:
- a. Worn-out flapper: If it’s falling apart, it’s time to swap it out.
- b. Misaligned flapper chain: A simple adjustment might be the fix.
- Fill Valve Issues:
- a. Faulty fill valve: If it’s not filling correctly, a replacement is in order.
- b. Incorrect water level adjustment: Tweaking the water level might do the trick.
- Overflow Tube Woes:
- a. Malfunctioning float: Ensure it’s floating, not sinking.
- b. Water level too high: Lower it to prevent constant overflow.
- Flush Handle Concerns:
- a. Loose or broken flush handle: Tighten or replace it for a smooth flush.
- b. Chain or lever issues: Check for tangles and adjust as needed.
With the suspects identified, it’s time to embark on the mission to restore order to your porcelain kingdom.
Step-by-Step Repair Guide
Armed with the knowledge of what ails your toilet, it’s time to roll up your sleeves and tackle the issues head-on. Each element has its own quirks, so let’s break down the repair process like a true plumbing maestro.
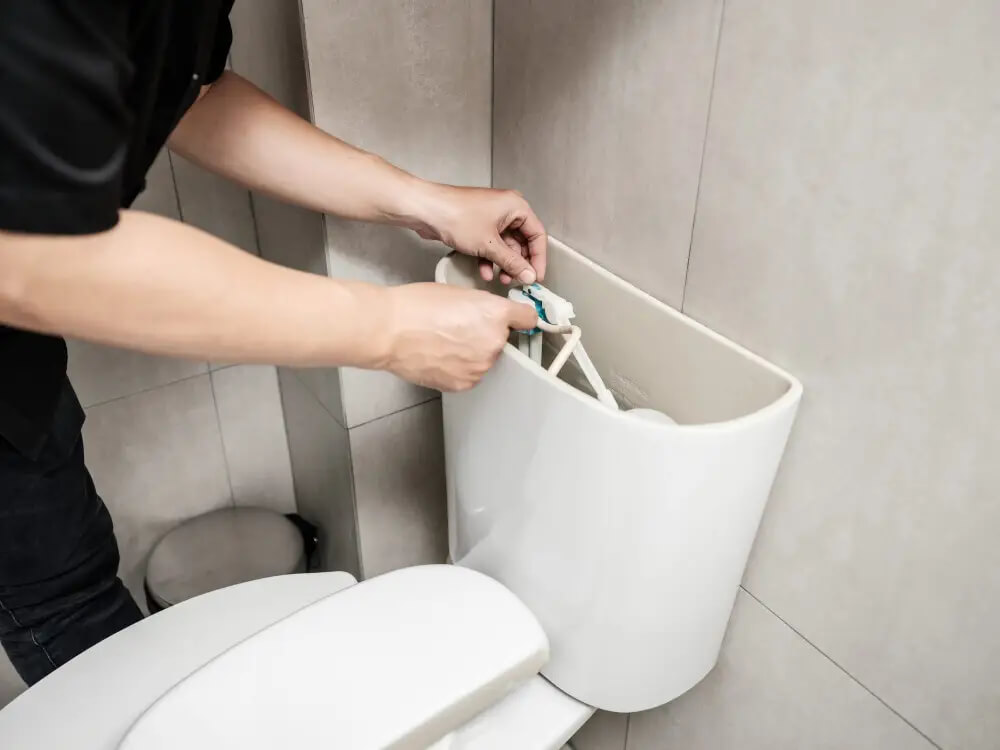
Fixing the Flapper:
- Shut Off the Water Supply: Turn off the water source to the toilet. No one wants an unexpected splash zone.
- Remove the Tank Lid: Safely lift off the tank lid – set it aside like a carefully guarded treasure.
- Inspect the Flapper: Examine the flapper for wear and tear. If it’s looking shabby, it’s the prime suspect.
- Replace or Reposition the Flapper: If damaged, swap it out with a new one. Ensure it aligns properly for a snug fit.
- Adjust the Flapper Chain Length: A misaligned chain can cause trouble. Adjust its length for optimal performance.
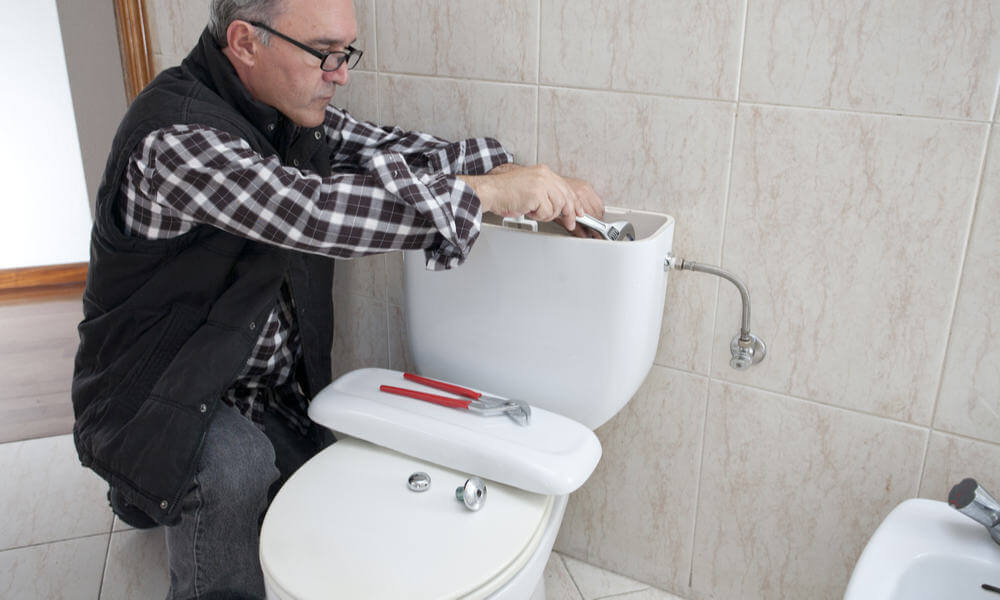
Repairing the Fill Valve:
- Turn Off the Water Supply: As always, cut the water flow before diving into any repairs.
- Flush the Toilet to Drain Excess Water: Give it a flush to minimize water in the tank. Less water, less mess.
- Identify the Fill Valve: Locate the fill valve. It’s the one responsible for refilling the tank after a flush.
- Adjust the Water Level: Tinker with the water level adjustment to find the sweet spot.
- Replace the Fill Valve If Necessary: If the fill valve is misbehaving, don’t hesitate to replace it. A well-behaved valve is key to a content toilet.
Adjusting the Overflow Tube:
- Turn Off the Water Supply: Yes, again. We’re in a water-free zone during repairs.
- Flush the Toilet to Drain Excess Water: Minimize water in the tank before meddling with the overflow tube.
- Inspect the Overflow Tube and Float: Ensure the float is floating and the tube isn’t clogged.
- Adjust the Float: A well-adjusted float ensures the right water level. No more overflow tantrums.
- Trim or Replace the Overflow Tube If Needed: If it’s looking worn or mischievous, a replacement or trim might be in order.
Fixing the Flush Handle:
- Turn Off the Water Supply: Familiar territory – water supply off.
- Remove the Tank Lid: Uncover the tank, exposing the inner workings.
- Inspect the Flush Handle and Chain: Check for looseness or breakage. A wobbly handle needs attention.
- Tighten or Replace the Flush Handle: A snug handle ensures a controlled flush. Replace if needed.
- Adjust the Chain Length: A tangled chain can cause hiccups. Adjust for a smooth operation.
With these steps, you’re not just fixing a toilet; you’re mastering the art of porcelain diplomacy. Now, onto the final leg of our journey – the moment of truth.
Final Checks and Testing
You’ve made the fixes, but is your toilet ready to reclaim its throne? Let’s find out:
- Turn On the Water Supply: Open the floodgates and let the water flow.
- Flush the Toilet and Observe: Give it a go! Watch for any signs of rebellion or, worse, another running spree.
- Make Necessary Adjustments: If issues persist, revisit the specific repair steps. Fine-tune until perfection is achieved.
- Perform a Final Test Flush: Seal the deal with one last triumphant flush. Victory is sweet, especially when your toilet behaves.
With a well-behaved toilet, you’ve conquered the running toilet saga. But our journey doesn’t end here; let’s explore some maintenance tips to keep your throne in top-notch condition.
Maintenance Tips
Congratulations, handy homeowner! You’ve quelled the rebellion in your restroom, but to maintain peace in your porcelain kingdom, regular upkeep is key. Let’s delve into some essential maintenance tips to keep your toilet in tiptop shape:
- Regularly Inspect and Clean Components: Just like a car needs an oil change, your toilet needs regular check-ups. Inspect the flapper, fill valve, and overflow tube for any signs of wear or grime. Clean away sediment and build-up to ensure smooth operation.
- Check for Leaks and Address Promptly: A silent leak can be a water bill saboteur. Periodically inspect for leaks around the base and tank. If you spot any sneaky drips, address them promptly to prevent water and money wastage.
- Replace Worn-Out Parts as Needed: Don’t wait for a full-blown revolt. If you notice any components showing signs of wear, replace them promptly. Investing in new parts is far more economical than dealing with the aftermath of a malfunctioning toilet.
- Educate Household Members on Proper Toilet Use: Sometimes the culprits are closer than you think – family members unaware of proper toilet etiquette. Educate them on the dos and don’ts to ensure everyone plays a role in maintaining a well-behaved commode.
As you weave these maintenance practices into your household routine, your toilet will remain a beacon of reliability. But let’s not forget, while DIY fixes are fantastic, there are instances where a professional hand might be needed.
Final Words
In the grand saga of home maintenance, conquering a running toilet is a victory worth celebrating. Armed with this step-by-step guide and armed with a plunger and a wrench, you’ve proven yourself a toilet troubleshooter extraordinaire. Remember, a well-behaved toilet is not just a convenience; it’s a silent hero in your daily life.
In conclusion, here’s to a throne that flushes flawlessly and maintains its dignity. May your plumbing adventures be few, and your toilets forever cooperative. Cheers to a bathroom blissfully free of the symphony of running water!
Frequently Asked Questions (FAQ)
Q1: Why is my toilet running?
A1: A running toilet is often caused by issues with the flapper, fill valve, overflow tube, or flush handle. These components may wear out over time, leading to water leakage and continuous running.
Q2: How do I know what type of toilet I have?
A2: Different toilets have distinct characteristics. Identify yours by checking the flushing mechanism. Gravity-flush toilets rely on gravity, pressure-assist toilets use compressed air, and dual-flush toilets offer two flush options for water conservation.
Q3: Can I fix a running toilet myself?
A3: Absolutely! Many toilet issues can be resolved with a bit of DIY magic. This guide provides step-by-step instructions for common problems. However, if you’re unsure or the problem persists, consider consulting a professional plumber.
Q4: What safety precautions should I take before starting the repair?
A4: Prioritize safety! Turn off the water supply to the toilet and gather necessary tools. Always follow proper safety protocols, and if you’re uncomfortable with any step, seek professional help.
Q5: How do I adjust the water level in the tank?
A5: To adjust the water level, locate the fill valve and turn the adjustment screw or float setting. Experiment with adjustments until you achieve the desired water level for optimal flushing performance.
Q6: Can I use any replacement parts, or do I need specific ones for my toilet model?
A6: It’s advisable to use replacement parts designed for your specific toilet model. Check the toilet’s manual or consult with a hardware professional to ensure compatibility.
Q7: How often should I perform toilet maintenance?
A7: Regular maintenance is crucial. Inspect and clean components every few months, checking for leaks and addressing them promptly. Replace worn-out parts as needed and educate household members on proper toilet use to prevent issues.
Q8: What if my toilet issues persist after attempting the repairs?
A8: If problems persist, it might be time to consult a professional plumber. Some issues may require specialized knowledge and tools for a thorough and lasting solution.
Q9: Can I use this guide for all types of toilets?
A9: While the guide covers common issues for various toilet types, it’s essential to consult your specific toilet’s manual for model-specific details. The troubleshooting steps provided are generally applicable but may need slight adjustments based on your toilet’s design.
Q10: Is fixing a running toilet a cost-effective solution?
A10: Absolutely! DIY repairs can be cost-effective, saving you money on potential plumber fees. Most toilet issues are manageable with basic tools and replacement parts, making it a practical and empowering solution.